Build a minimal blog with Deno and host it on Deno Deploy
I'd been meaning to play around with Deno and finally got around to doing it in the quickest, easiest (and laziest) way possible -- using a minimal blog template. I also took the opportunity to learn how Deno Deploy works. The whole thing is quick and painless, here's how to do it.
Table of Contents
Sections
- Install Deno
- Create the blog from template and customize it
- Host the blog on Deno Deploy
- Use your own custom domain
- References
I wrote this blog post years ago now when I was trying out Deno Deploy just for fun. I have not kept up with it or maintained the blog I built in this post, and I have no intention of doing so. I may try out Deno again in the future. For now, as of beginning of 2025, this post is probably beyond outdated and I doubt Deno Deploy even works the same! This blog post will stay for legacy purposes, but it’s probably unwise to follow it at this point.
Install Deno
Installing Deno is quick and easy via automated script. You can alternately use various package managers as per the Deno documentation. For this guide I will use the script to install with one command:
For Windows PowerShell:
irm https://deno.land/install.ps1 | iex
For Linux and Mac terminal:
curl -fsSL https://deno.land/x/install/install.sh | sh
On Linux, after Deno is installed, add the deno command path to the end of your .bashrc or .zshrc:
export PATH="/home/username/.deno/bin:$PATH"
Verify successful installation with the command deno --version. In the future when you want to update Deno to the latest release, you can do so with the following command:
deno upgrade
Create the blog from template and customize it
We’ll be using the deno_blog boilerplate to set up a very minimal, no frills blog. The creator of Deno, Ryan Dahl, uses a version of this template for his own blog.
Open a terminal and use the following command, substituting the path at the end where your project will live locally:
$ deno run -r --allow-read --allow-write https://deno.land/x/blog/init.ts ./directory/for/blog/
Once the blog is set up, go into the project directory and run the development server using the command deno task dev and go to the URL. Notice the default layout of everything.

To configure and customize the blog, edit the main.tsx file. It should look like the below:
/** @jsx h */

import blog, { ga, redirects, h } from "blog";

blog({
  title: "My Blog",
  description: "This is my new blog.",
  // header: <header>Your custom header</header>,
  // section: <section>Your custom section</section>,
  // footer: <footer>Your custom footer</footer>,
  avatar: "https://deno-avatar.deno.dev/avatar/blog.svg",
  avatarClass: "rounded-full",
  author: "An author",

  // middlewares: [

  // If you want to set up Google Analytics, paste your GA key here.
  // ga("UA-XXXXXXXX-X"),

  // If you want to provide some redirections, you can specify them here,
  // pathname specified in a key will redirect to pathname in the value.
  // redirects({
  //  "/hello_world.html": "/hello_world",
  // }),

  // ]
});
We’ll go through this bit by bit:
-
The
titlewill appear in large text directly under your avatar, anddescriptionwill appear in smaller text right under that. Theavatarparameter takes a URL for the image to be displayed, andavatarClassdetermines the avatar’s shape. Finally,authoris self-explanatory, just use your own name here. -
The
header,sectionandfooterare commented out by default, but can be customized to change the default appearance of your blog. That’s beyond the scope of this guide. (Mainly because I haven’t messed with it too much myself.) It’s safe to delete this if you will not use it. -
The commented out
middlewareandredirectsare fairly self-explanatory, you can add a Google Analytics key and specify some redirects. Feel free to delete if you’re not using them.
In addition, you can add the following parameters:
dateStyle: "long"displays dates in long format, for example November 15, 2022 (the default is short format, e.g. 2022-11-15)favicon: "favicon.ico"lets you use a custom favicon, but be warned it only accepts.icofiles — unfortunately it does not support SVG favicons at this time.lang: "en"specifies the blog’s language, the default is en (English).unocss: unocss_optsseems to be for importing Uno CSS but I have not used it myself.
Once you’ve got everything set up to your liking, you’ll need to push the project to a GitHub repo for the next step.
Host the blog on Deno Deploy
We’ll be hosting our blog on Deno Deploy, which deploys from a GitHub repo and requires a GitHub account for login.
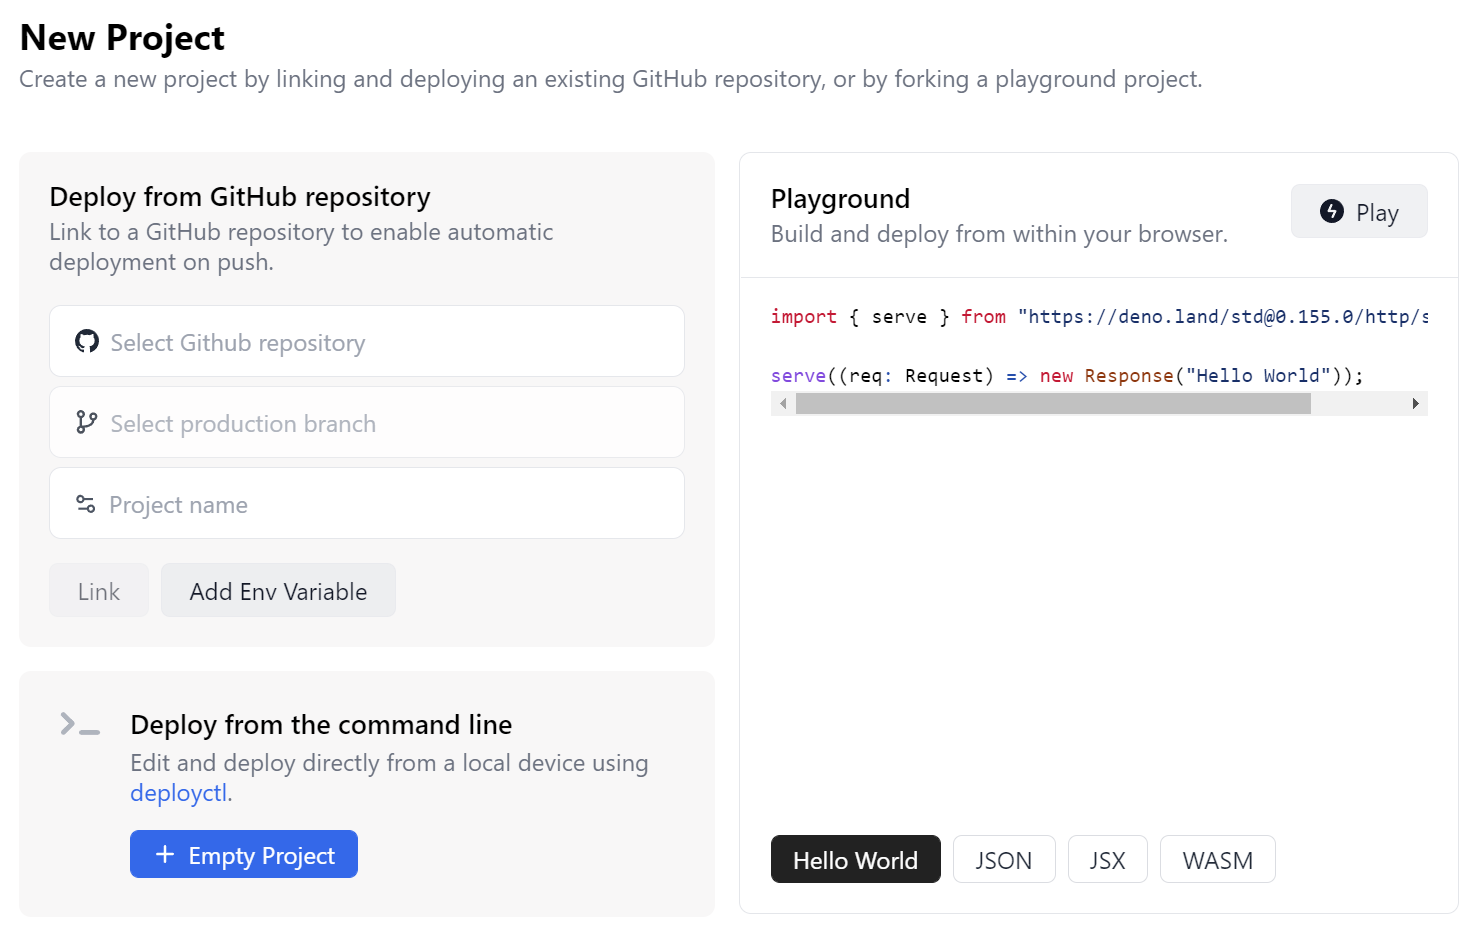
Once logged in to Deno Deploy, you’ll be on the Projects dashboard. Click the + New Project button:

Click on Select GitHub repository and you’ll be taken to GitHub to login and choose a repo to deploy from.
Choose the option Only select repositories then choose your blog’s repo from the Select repositories dropdown menu. Click Save to confirm and be taken back to Deno Deploy. Now again click on Select GitHub repository, then on your GitHub username, then on the blog repo from the list.
Next click on Select production branch and your main/master branch should be the default choice — click it then click on Automatic since we don’t require a build step, then it should detect that main.tsx is the entry point, so click it. Next type in a project name, which will be the sub-directory of your project, for example: https://my-blog.deno.dev. Finally, click the Link button to pull your code from the GitHub repo and publish to Deno Deploy. After a few minutes your blog should be up and running!
Use your own custom domain
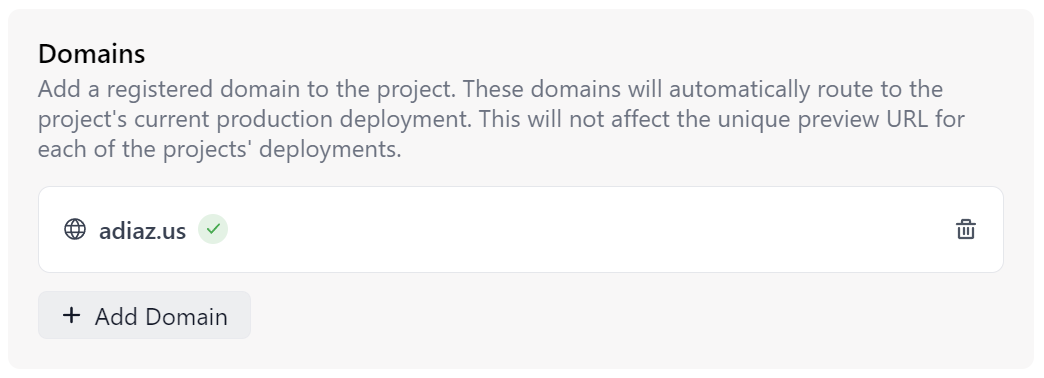
Deno Deploy lets you easily use a custom domain you own instead of https://project.deno.dev. From the dashboard click on your project, then click on the Settings tab. Scroll down to Domains and click + Add Domain, type in your custom domain, then click Save. Next click on the Setup button next to your newly added domain, copy and paste the DNS records into your domain registrar’s DNS settings, then after a few minutes click the Validate button.
If it says “Validation has failed” just wait a little while longer then try again. Once validation is successful, you’ll be able to provision an SSL certificate.

Click on Get automatic certificates to finish. (Or upload your own certificate, if you prefer and know what you’re doing.) After a few moments you should see your domain now has a green checkmark on it.

You should now be able to go to your custom domain to reach your blog. For whatever reason, in my experience it seems to load much faster on a custom top-level domain compared to Deno Deploy’s deno.dev sub-domain. Enjoy!