Complete guide to self-hosting a website through Cloudflare Tunnel
Self-hosting a static web blog has never been easier thanks to Cloudflare Tunnel. In this guide I explain how to expose a static website self-hosted on a Linux server inside my home network to the internet using Nginx and Cloudflare Tunnel, and securing it with various other free Cloudflare services.
Table of Contents
What and How
You can very easily set up and host a website via Netlify, Cloudflare Pages, or GitHub Pages, Vercel, Surge.sh, or many other free or paid options. Honestly, it’s never been easier to have a website and there’s never been more free options.
Self-hosting a website, however, is a whole other can of beans — instead of letting one of these companies host your website in their infrastructure, your website will live and operate out of a server in your home, or on a cloud provider like Digital Ocean, Oracle or Hetzner. This means you have only yourself to rely on for maintaining the server, making sure it’s secure and has the latest updates, etc. Cloudflare Tunnel removes a lot of the hassle, and even enhances it with other free Cloudflare services like Web Application Firewall and Web Analytics. (Note that these are also available if you host your website Cloudflare Pages.)
First, requirements:
-
You’ll need to create a free Cloudflare account.
-
You need to own a domain. I suggest Cloudflare itself, alternately Porkbun or Namecheap. (Or literally any domain registrar you prefer.) You can get cheap domains, like those ending with
.ccor.us, often for less then $10 or even as low as $4 to $5. This is the price for the first year, to hook you, but annual domain renewals can cost more after that first year, so do your research. Cloudflare sells their domains at cost, so the renewal is usually only a couple dollars more than the initial price, which is why I usually prefer them. Alternately you could set up something like DuckDNS or some other Dynamic DNS to avoid buying a domain, but you’re on your own there — domains are so cheap I’ve never bothered. -
You’ll need a website. I won’t be explaining how to build a website here, you can just code one from scratch with HTML and CSS if you know how, or you can use a static site generator, of which there are many. If you want to get a quick website up and running I suggest Astro since it has a good blog template and is easy to learn. (It’s what I used to build this blog!)
-
A Linux server. I specifically use Debian 12, but these instructions should work for any distro. This might be possible on Windows using WSL2 and Docker Desktop, but I wouldn’t suggest it.
-
Though they can be run bare metal, I like to run both Cloudflare Tunnel and Ngnix as Docker containers so that everything is portable and easily repeatable. So you’ll need to install Docker and all it’s dependencies, which I’ll explain below.
The website
Like I said, I’m not explaining how to build a website here. Assuming you used Astro as I suggested, use the command npx run build or yarn build to build the site for deployment. It will output to a /dist directory, these static files are what we will serve to the internet.
Make a note of the full path to your website’s output directory, for example /home/bob/sites/my-cool-blog/dist.
Install Docker and set up the Nginx container
For the most hassle-free method of installing Docker, I suggest using their official install script with the following command:
curl -fsSL https://get.docker.com | sh
Next we’ll setup Nginx as our webserver, websites need a webserver to serve their pages to be viewed on a browser. I use the official Nginx docker container, ol’ reliable. I’ll be using docker compose to set it up. Within the root directory of your site, create the file compose.yaml and add the below to it:
services:
  site:
    restart: unless-stopped
    container_name: site
    image: nginx:mainline-alpine-slim
    volumes:
      - /home/bob/sites/my-cool-blog/dist/:/usr/share/nginx/html/
    ports:
      - 8888:80
I like to use the mainline-alpine-slim tag for the Nginx image because it’s the smallest and most up to date, but there are many other tags if you prefer. Make sure the local port, 8888 above, does not conflict with any other self-hosted services you may have. Feel free to change it to anything else.
Still in the site’s root directory we want to create a nginx.conf file and add the below to it for a basic configuration:
worker_processes  1;

events {
  worker_connections  1024;
}

http {
  server {
    listen 8888;
    server_name   _;

    root   /usr/share/nginx/html;
    index  index.html index.htm;
    include /etc/nginx/mime.types;

    gzip on;
    gzip_min_length 1000;
    gzip_proxied expired no-cache no-store private auth;
    gzip_types text/plain text/css application/json application/javascript application/x-javascript text/xml application/xml application/xml+rss text/javascript;

    location / {
      try_files $uri $uri/index.html $uri.html;
    }
  }
}
If you changed the local port in the
compose.yamlfile, make sure you change it in thenginx.conftoo.
Finally, still in the site’s root directory, use the command docker compose up -d to download the Nginx container image and run the webserver using the parameters from the compose file and configuration file. Based on the settings above, Nginx will serve the static files from /dist directory on the machine’s network port 8888. You should be able to access it by going to it’s IP address and adding the port, for example http://192.168.1.100:8888.
If you only want to self-host a site that you can access from within your home network, and you don’t want to expose it to the internet, then you’re done! Otherwise, read on to expose it to the internet with a Cloudflare Tunnel, without need to open ports on your router.
Add a domain in Cloudflare
Create your free Cloudflare account if you haven’t already. If you bought a domain on Cloudflare, you can skip to the next section since it is auto-configured already. If your domain is from another registrar, we’ll need to add it to Cloudflare:
-
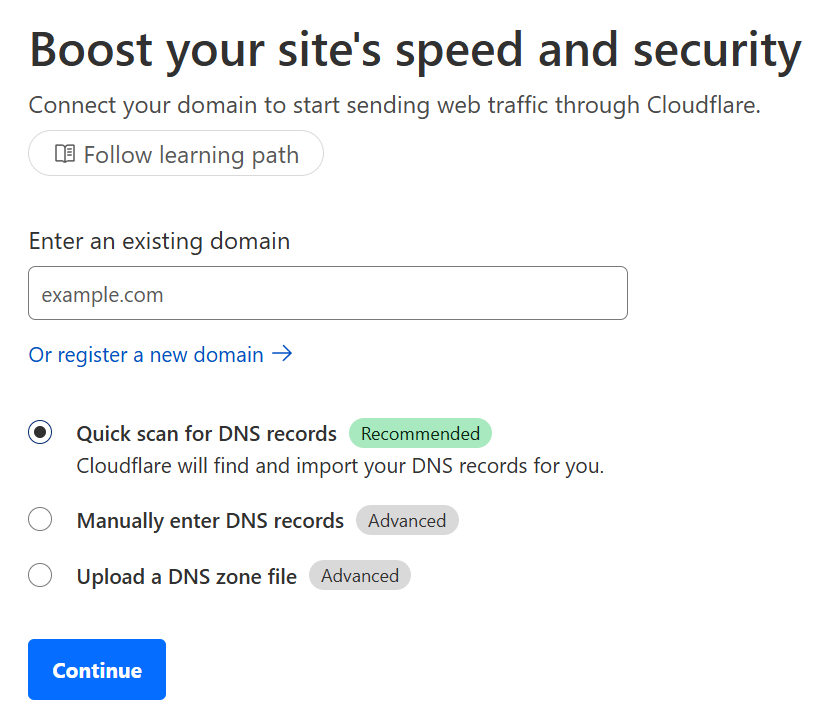
On the Cloudflare dashboard Account Home, click the + Add a domain button.
-
Enter your domain, leave Quick scan for DNS records selected, and click Cotinue.
- Click on the Free plan at the bottom and click Continue.

- You’ll see your DNS records, if there are any. Don’t worry about this right now and click on the Continue to activate button.
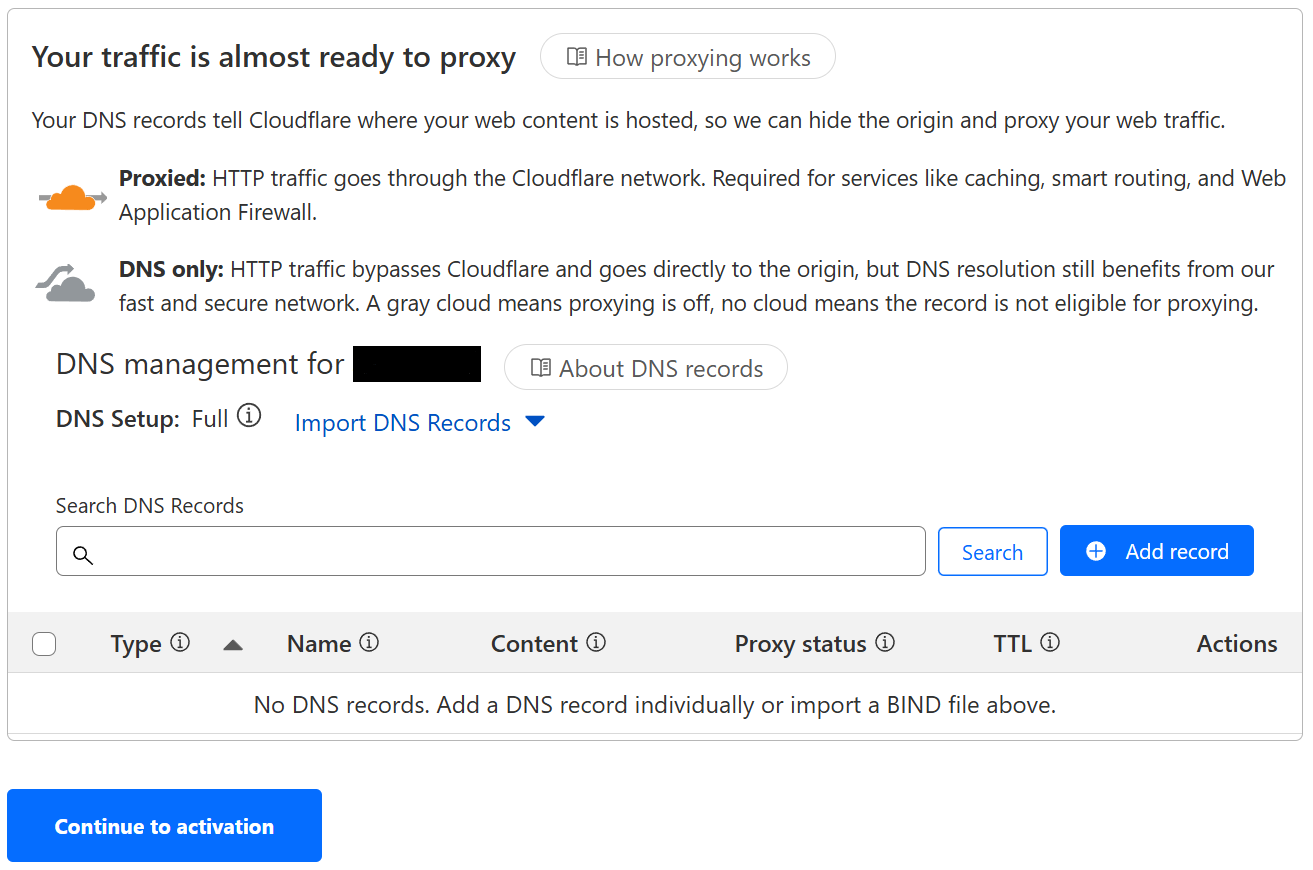
- You’ll see a pop-up window saying you should set your DNS records now, click on Confirm.

-
Now you’ll be provided some instructions to update the nameservers on your domain’s registrar, open a new tab and follow those instructions. Once you’ve added the Cloudflare nameservers at your registrar, go back to Cloudflare and click on Continue.
-
Now you’ll have to wait a few minutes for the changes to propagate, then click on Check nameservers and reload the page. If it’s still shows Pending next to the domain at the top, just keep waiting and reload again after a few more minutes.
-
Once the domain is Active, you’re ready to set up the Cloudlare Tunnel.
Create and configure the Cloudflare tunnel
In the Cloudflare dashboard, from your domain’s Overview page, click on Access on the sidebar, and then on the next page click Launch Zero Trust. Once you’re in the Zero Trust dashboard, do the following:
- On the sidebar, go to Network and choose Tunnels from the dropdown.

- Click on Add a tunnel, then on the next page choose Select Cloudflared.

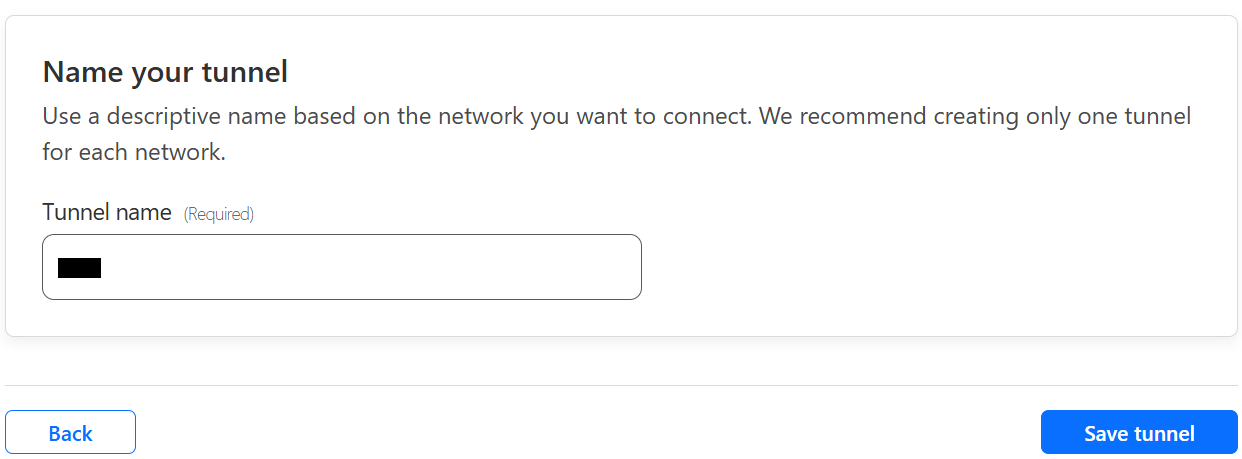
- On the following page name your tunnel, then click Save tunnel.
- Finally you’ll be given a
docker runcommand for cloudflared, but we’ll usedocker composeinstead. All we will need from here is the tunnel token.
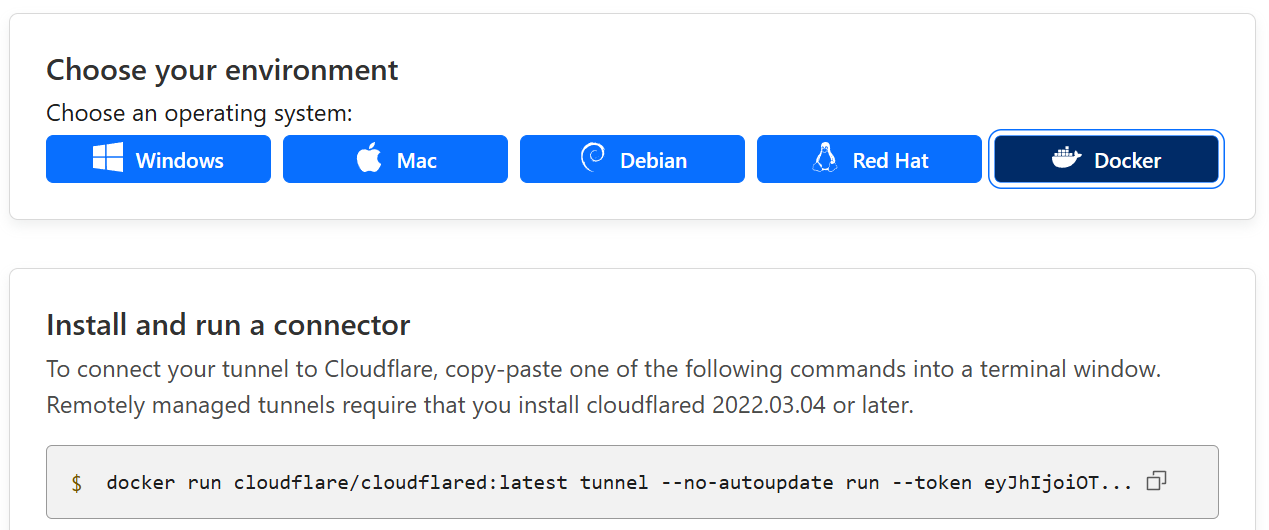
- Open the
compose.yamlfile we created earlier and edit it to look like the below:
services:
  site:
    restart: unless-stopped
    container_name: site
    image: nginx:mainline-alpine-slim
    volumes:
      - /home/bob/sites/my-cool-blog/dist/:/usr/share/nginx/html/
    ports:
      - 8888:80

  tunnel:
    restart: unless-stopped
    container_name: tunnel
    image: cloudflare/cloudflared:latest
    command: tunnel run
    environment:
      - TUNNEL_TOKEN=
- Add the tunnel token to the
TUNNEL_TOKEN=environmental variable, then save the file and let’s run docker compose again. (It will automatically addcloudflaredand restart thenginxcontainer.)
docker compose up -d
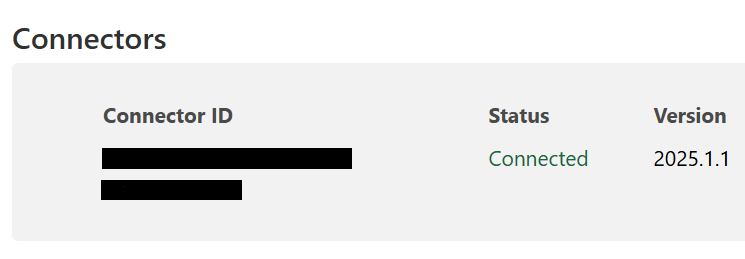
- Once the container is up and running, at the bottom your connector status should be Connected. Once the tunnel is Connected, click the Next button.
-
Now you’ll be in the Route Traffic page, under the Public Hostnames we have to add some things. For our purposes (hosting a site at the root of
your-domain.com) you should leave the Subdomain empty. If you prefer for your site to be accessible at, say,blog.your-domain.comthen set that subdomain here. -
For Domain type in
your-domain.com. -
Leave the Path empty, unless you want the URL to be something like
your-domain.com/blog. -
Under Service, for Type select
HTTP(not HTTPS) from the dropdown menu. -
For URL, put the full LAN (internal) IP address of the machine that will host the site, and append the port you set for the docker container — for example
192.168.1.100:8888. (Don’t uselocalhost:8888despite what the example says, that never works for me.)
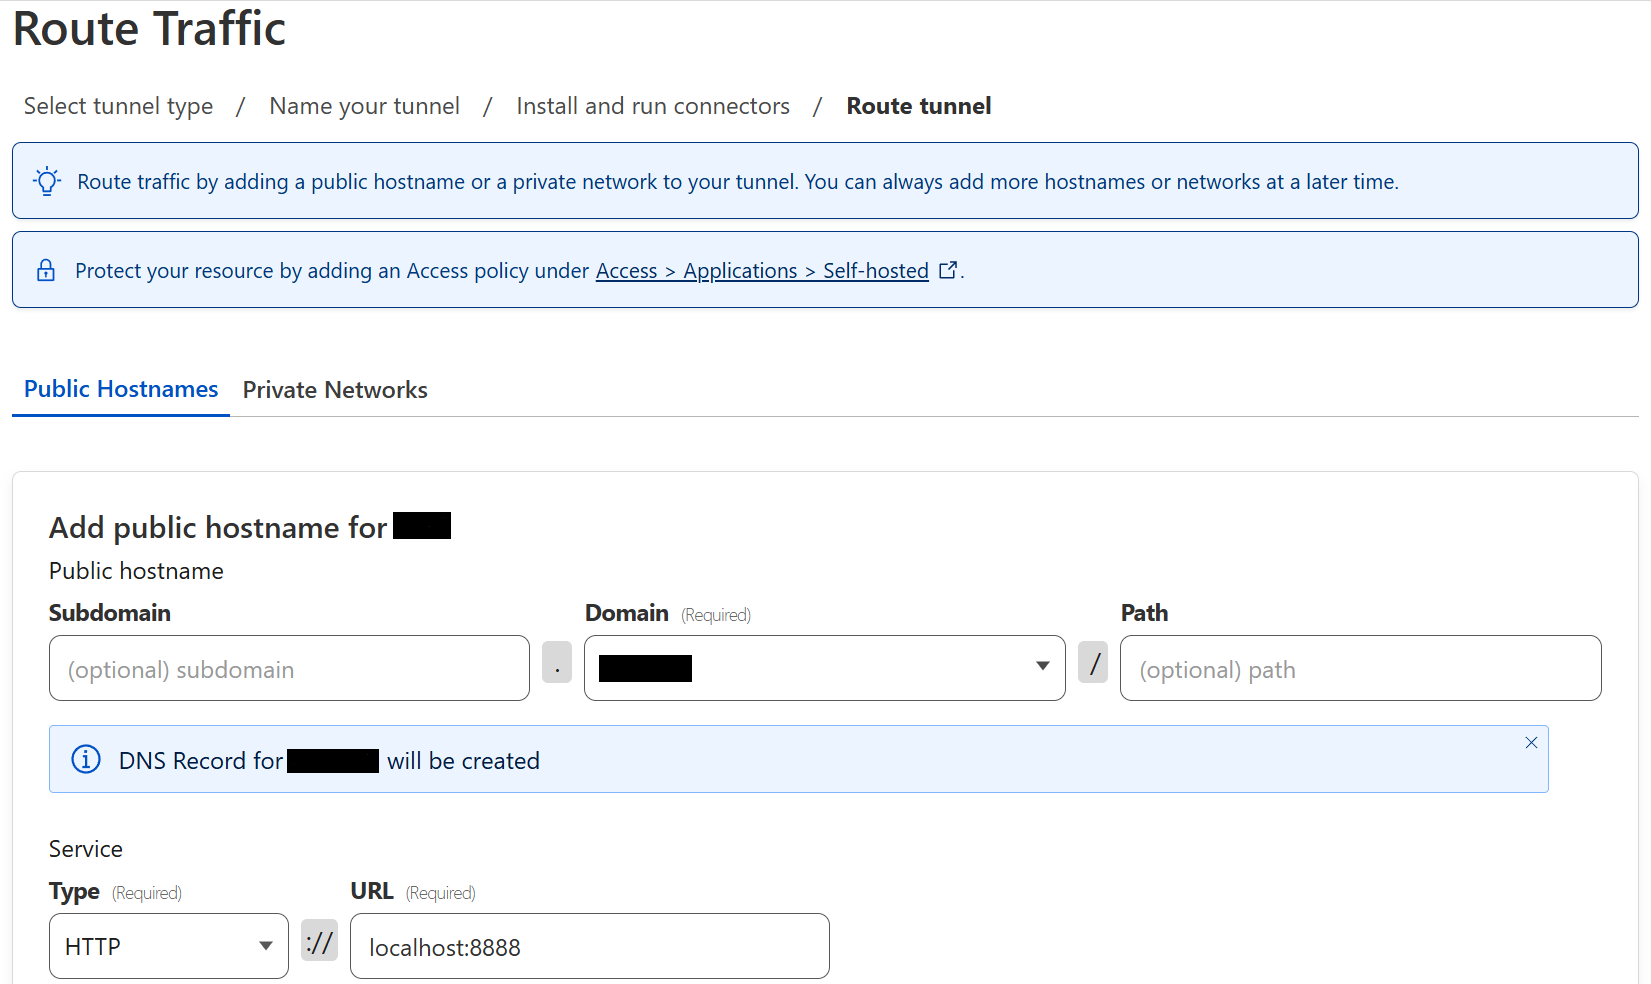
- When done filling everything in, click Save.
Now you will be back at the Tunnels page. Under Your tunnels, the tunnel you just created should appear and still show Healthy status.

Finally, we need to configure SSL for the website!
-
From the Cloudflare Zero Trust dashboard, click on the back arrow next to your account name at the top of the sidebar to return to the regular Cloudflare dashboard.
-
Click on your domain and then click on SSL/TLS on the sidebar.
-
You’ll now be in the SSL/TLS Overview, click the Configure button.

- Select Automatic SSL/TLS (default) then click Save.
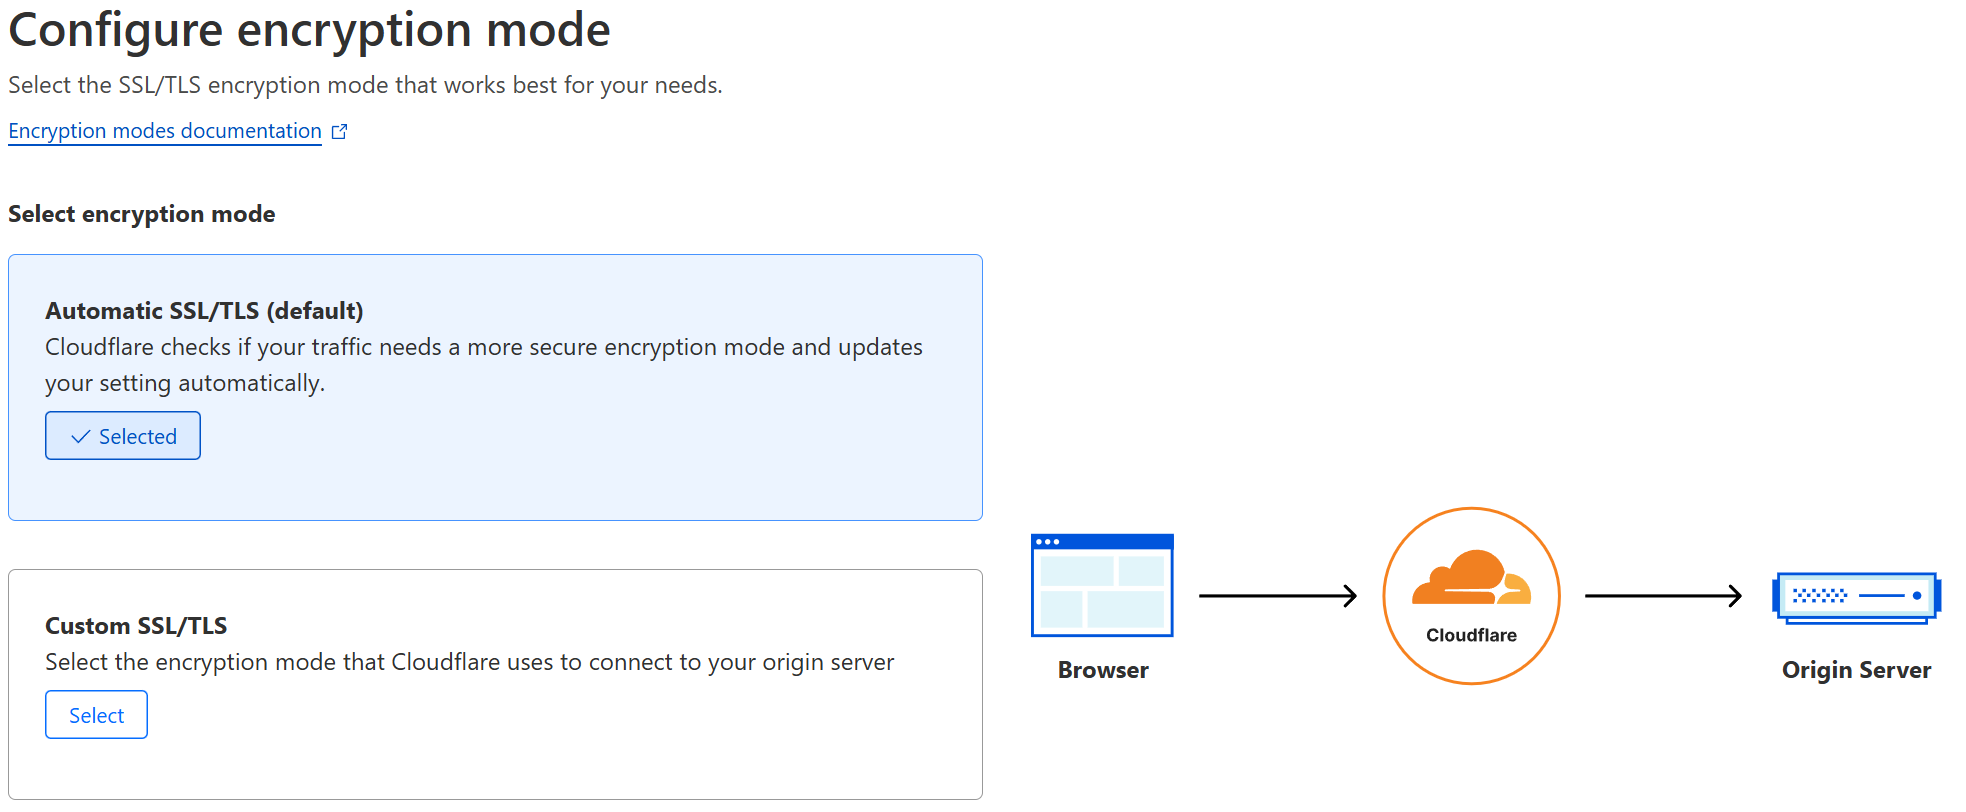
If you run into any HTTPS errors later when trying to access your site, come back to this page and try instead to select Custom SSL/TLS and choose Full (Strict) or Full instead. Automatic should work in most cases, though.
Now you should be able to visit https://your-domain.com and see your website!
Set up a redirect
Right now, going to your-domain.com should work, but you may notice that going to www.your-domain.com does not. Normally you’d set up an A record in your webhost’s DNS settings, but Cloudflare Tunnels work a little differently — they don’t use A records. Instead, we’ll set up a CNAME for www, point it at the tunnel ID, and create a redirect rule.
First, let’s add the CNAME record.
-
On the Cloudflare dashboard, click on your domain, then on the sidebar open the DNS dropdown and click Records.
-
On the next page, click the Add record button.
-
Under Type choose CNAME.
-
Under Name type in
www. -
Under IPv4 address put in your tunnel ID. (If you need the ID, just copy and paste it from your primary CNAME record.)
-
Click the Save button.
Now for the redirect rule.
-
On the Cloudflare dashboard, click on your domain, then on the sidebar open the Rules dropdown and click Redirect Rules.
-
Click the Add rule button, and on the next page give your rule a name.
-
In the If… section, under When incoming requests match… click the radio button for Custom filter expression.
-
Below When incoming requests match…, ignore the dropdowns and instead click on Edit expression.
-
In the Expression Editor, type in the following:
(http.request.full_uri contains "www.your-domain.com")
-
In the Then… section, for Type choose Dynamic from the dropdown.
-
Under Expression type in the following:
concat("https://","your-domain.com",http.request.uri.path)
- Leave the Status code as 301 and click Deploy.
Now when you go to www.your-domain.com it should redirect to your-domain.com.
Configure HTTP response headers on Cloudflare
Though optional, it’s always good practice to set up your HTTP response headers on any website you host. If you check your site on securityheaders.com you’ll probably have an F grade. A lot of tech blogs don’t bother with this, most that I have checked get a D+ at best, so don’t think it’s required by any stretch. However, if you feel like going that extra step to get an A+, here is how:
-
Login to Cloudflare and on the sidebar go to Rules -> Transform Rules, choose the Managed Transforms tab.
-
Under HTTP response headers click the switch for Add security headers to enable it.
-
Next choose the Modify Response Header tab and click Create Rule.
-
Name the rule (e.g. “CSP headers”), scroll down to If… and choose All incoming requests.
-
Scroll down to Then… and in the Select item… dropdown choose Set static — click the Set new header button again to add a second rule, and choose Set static for it as well.
-
We’re going to add two rules. In the first rule, for header name type in the
content-security-policyand for value type inupgrade-insecure-requests. -
For the second rule, for header name type in
permissions-policyand for value type ingeolocation=(self).
Note that for the permissions-policy I’ve chosen to disable everything since I don’t use these features on my blog. If you plan to use something, for example geolocation, you’d have to instead use geolocation=self. (See more about Permission Policy at MDN Docs.)
Once that is done, click the Deploy button. Wait a few minutes, then check your security headers again, and now it should be A+.
Reference
- Cloudflare Docs - Add a site
- Cloudflare Docs - Tunnels
- Cloudflare Docs - Manage subdomains, Set up redirects
- Cloudflare Docs - Create redirect rule
- Cloudflare Blog - Modifying HTTP response headers with Transform Rules