Setup self-hosted Plex Media Server in Docker
One of the most popular services to self-host in Plex Media Server, which serves your personal media library with a nice Netflix-like UI. Though you can install and run it bare-metal, the most common and easiest way is in a Docker container. Here's how.
Table of Contents
Installing Plex as a Docker container
If you haven’t already, install Docker and all it’s dependencies quickly their official install script:
curl -fsSL https://get.docker.com | sh
Though Plex has an official Docker image, if this is your first time running Plex I strongly suggest you instead use the Linuxserver image, which is built and maintained by the Linuxserver community. I run the Linuxserver image of Plex without issue, and it seems that is also the case with most self-hosters.
Create a compose.yaml file, copy and paste the following:
services:
  plex:
    image: lscr.io/linuxserver/plex:latest
    container_name: plex
    network_mode: host
    environment:
      - PUID=1000
      - PGID=1000
    ports:
    volumes:
      - /opt/docker/plex:/config
      - /mnt/media/tv:/tv
      - /mnt/media/movies:/movies
      - /mnt/media/music:/music
      - /mnt/media/photos:/photos
    restart: unless-stopped
Let’s break down what each of these parameters do:
| Paramter | Function |
|---|---|
image | Here we’re using the latest version of the Linuxserver-maintained image. |
container_name | Optional, but you should give your containers a name for clarity. |
network_mode: host | This is required to run Plex on Linux, but cannot be used when running Plex on Windows or WSL. |
PUID=1000PGID=1000 | These environmental variable sets a UID and GID for Plex and should match the owner of the volumes you are adding; check your UID and GID with the command id. |
ports | This will map ports on your machine (left of the colon) to ports inside the container (right of colon) — optional in Linux but required in Windows and WSL. |
volumes | Here we’re mapping local directories (left of the colon) to directories inside the container (right of the colon), change this to your own local paths. |
restart | This tells Docker under what circumstances to restart the container when it is stopped — the options are no, always, on-failure and unless-stopped. |
Once your compose file is ready, save it and exit the editor. Now from within the same directory as the compose.yaml is located, use the following command to install and start the container in the background as a daemon:
docker compose up -d
Configuring Plex
Wait a minute while the container is downloaded and install. After completion, use the command docker ps to verify the container is up and running. You should see output similar to the below:
CONTAINER ID   IMAGE                              COMMAND   CREATED           STATUS
f77c895f24d5   lscr.io/linuxserver/plex:latest    "/init"   13 seconds ago    Up 9 seconds
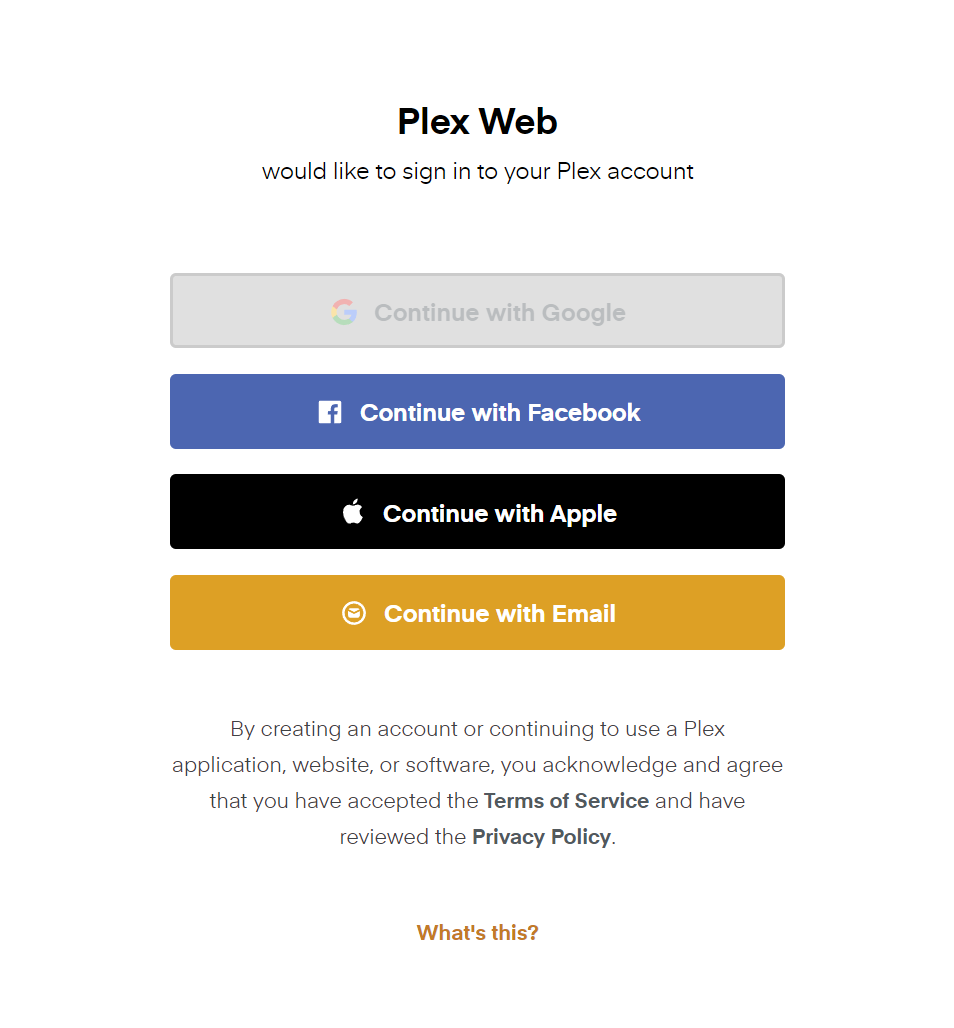
Good to go. Now to configure Plex you’ll need to access it’s web UI, which by default is at (for example) http://192.168.1.100:32400/web. You’ll be asked to login. (A free Plex account is required.)
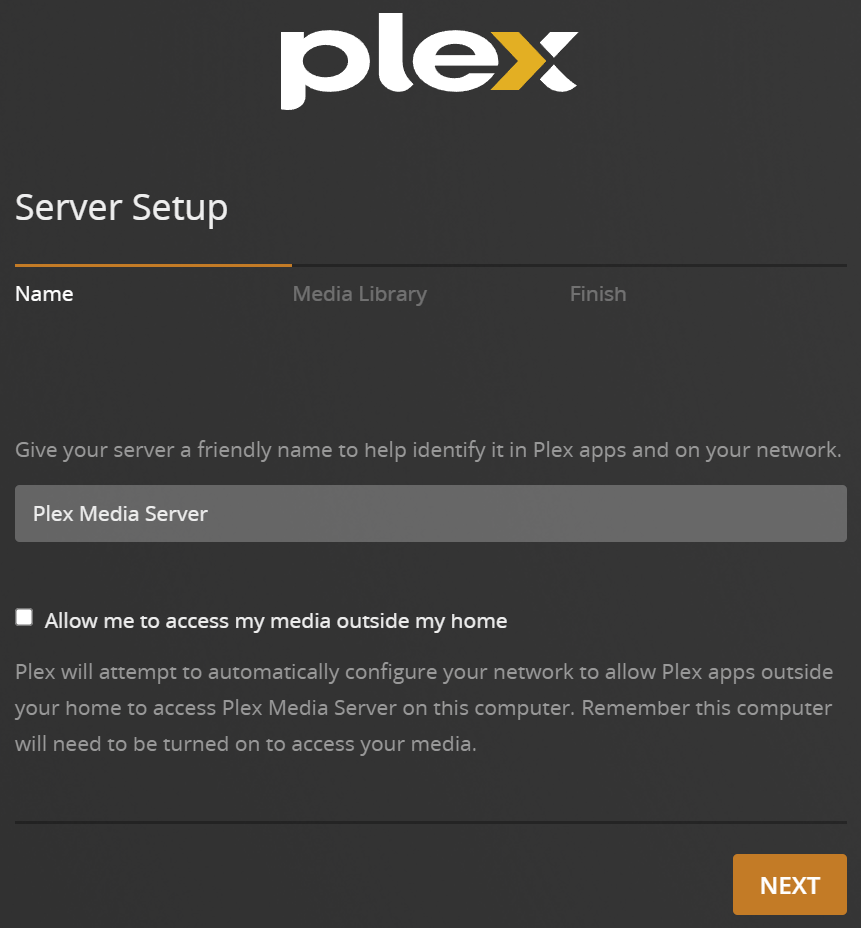
After signing in, after a few explanatory pages, you’ll arrive at the Server Setup page. Name your server, uncheck the checkbox unless you’ll be making Plex available from outside your network (not recommended unless you know what you’re doing, see this blog post for a better way), and click Next.
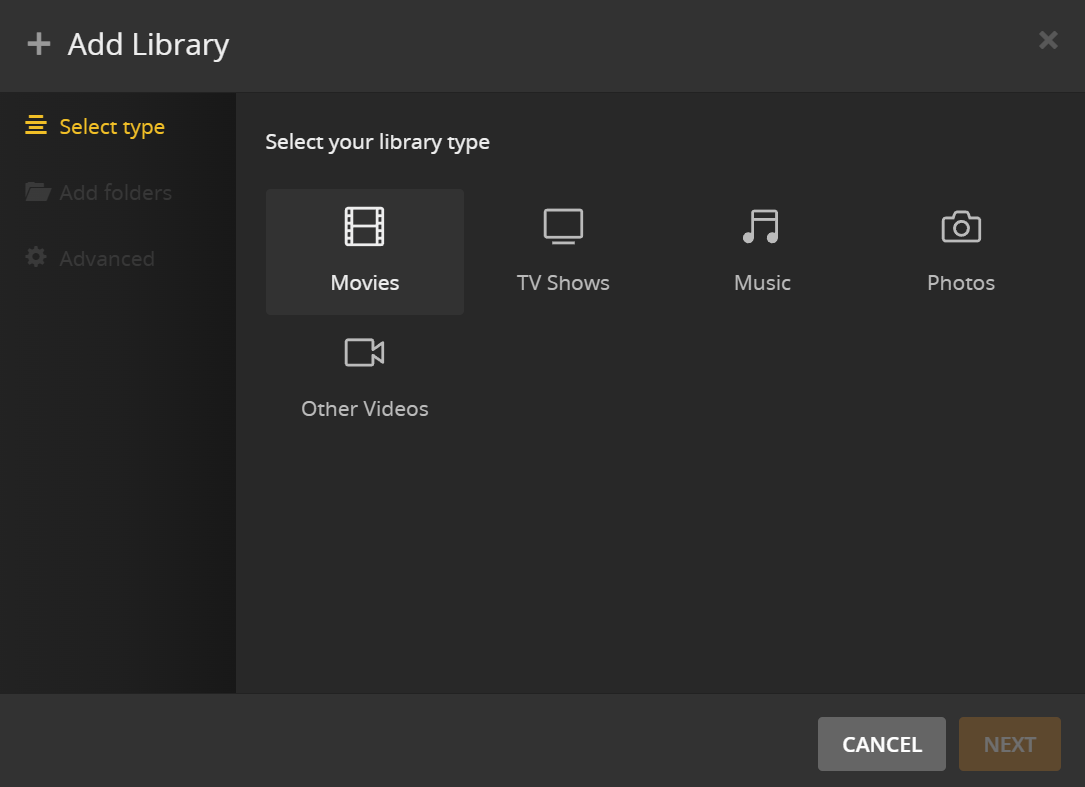
You’ll then be able to add folders with your media to the Plex library. Click the Add Library button.

On the following page, you’ll be able to add media directories to each Library Type. We’ll use Movies as an example, select it then click the Add button.
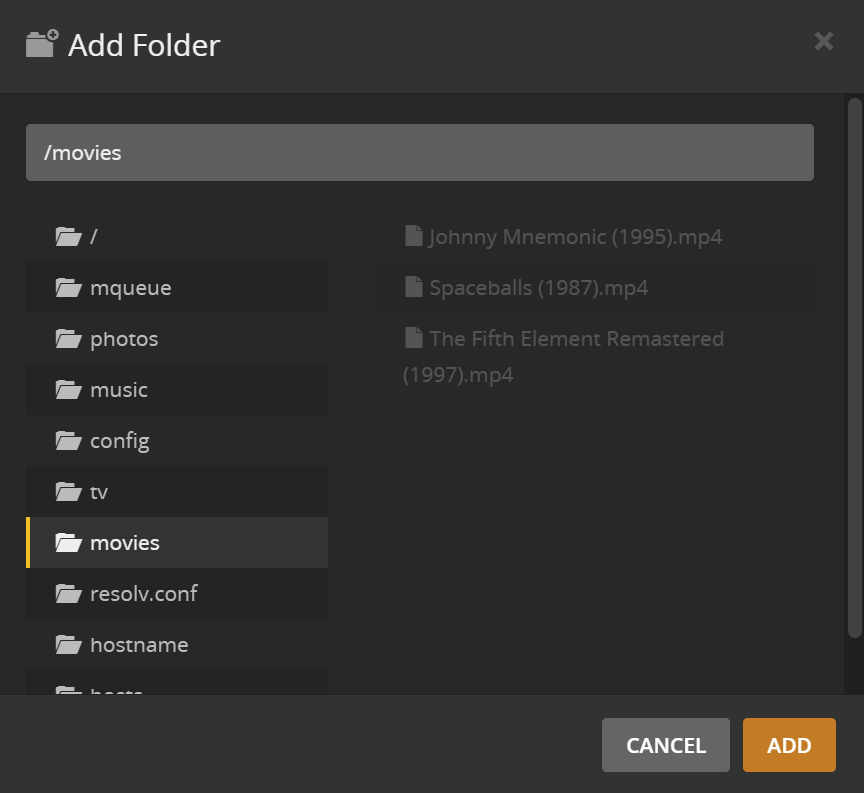
Next choose the local directory from the list, in this case movies (the Docker container’s directory mapped to /mnt/media/movies), and click Add.
Your movies should now appear within the Movies section of the Plex UI. Repeat the process to add other directories for your TV, Music and Photos libraries. And you’re done! You can now watch Plex right in the web UI, or (ideally) by downloading and signing into the Plex app on devices in your network.